-
Table of Contents
“`html
Introduction
Sandwich bread is a staple in many households around the world, serving as the foundation for countless meals and snacks. Its origins can be traced back to the 18th century when John Montagu, the 4th Earl of Sandwich, famously requested his meat be served between two slices of bread to avoid interrupting his gambling game. This simple yet ingenious idea led to the creation of what we now know as the sandwich. Over the years, bread-making techniques have evolved, and today, making your own sandwich bread at home is not only a rewarding experience but also allows for customization in flavor and texture.
This comprehensive recipe will guide you through the process of making soft, fluffy sandwich bread that is perfect for sandwiches, toast, or even as a base for French toast. With just a few basic ingredients and some patience, you can create a delicious loaf that will elevate your meals.
Time
- Preparation time: 20 minutes
- Cooking time: 30 minutes
- Rising time: 1 hour 30 minutes (divided into two rises)
Ingredients
- 4 cups (500g) all-purpose flour
- 2 tablespoons (25g) granulated sugar
- 2 teaspoons (10g) salt
- 2 teaspoons (7g) instant yeast
- 1 ½ cups (360ml) warm water (about 110°F or 43°C)
- 2 tablespoons (30ml) vegetable oil or melted butter
Step-by-Step Instructions
- Activate the Yeast: In a small bowl, combine the warm water and sugar. Sprinkle the instant yeast over the top and let it sit for about 5-10 minutes until it becomes frothy. This indicates that the yeast is active.
- Mix Dry Ingredients: In a large mixing bowl, whisk together the flour and salt until well combined.
- Combine Wet and Dry Ingredients: Once the yeast mixture is frothy, add it to the flour mixture along with the vegetable oil or melted butter. Stir with a wooden spoon or spatula until a shaggy dough forms.
- Knead the Dough: Transfer the dough to a lightly floured surface. Knead the dough for about 8-10 minutes until it is smooth and elastic. If the dough is too sticky, sprinkle a little more flour as needed.
- First Rise: Place the kneaded dough in a greased bowl, cover it with a clean kitchen towel or plastic wrap, and let it rise in a warm place for about 1 hour or until it has doubled in size.
- Punch Down the Dough: Once the dough has risen, gently punch it down to release the air. Turn it out onto a floured surface.
- Shape the Loaf: Shape the dough into a rectangle, then roll it tightly from one short end to the other to form a log. Pinch the seams to seal.
- Second Rise: Place the shaped loaf seam-side down in a greased 9×5-inch loaf pan. Cover it again and let it rise for another 30-45 minutes, or until it has risen just above the rim of the pan.
- Preheat the Oven: While the dough is rising, preheat your oven to 350°F (175°C).
- Bake the Bread: Once the dough has risen, bake it in the preheated oven for 30-35 minutes, or until the top is golden brown and the loaf sounds hollow when tapped on the bottom.
- Cool the Bread: Remove the bread from the oven and let it cool in the pan for about 10 minutes. Then, transfer it to a wire rack to cool completely before slicing.
Cooking Tips
- Check Yeast Freshness: Always check the expiration date on your yeast. If it’s old, it may not activate properly.
- Temperature Matters: Ensure your water is warm but not hot; too high a temperature can kill the yeast.
- Kneading Technique: Use the heel of your hand to push the dough away from you, then fold it back over itself. This helps develop gluten for a better texture.
- Humidity and Temperature: If your kitchen is particularly cold, consider placing the dough in a slightly warmed oven (turned off) to help it rise.
- Storage: Store the bread in an airtight container at room temperature for up to 3 days, or freeze for longer storage.
Variations
- Whole Wheat Sandwich Bread: Substitute half or all of the all-purpose flour with whole wheat flour for a healthier option.
- Herb-Infused Bread: Add dried herbs like rosemary or thyme to the dough for added flavor.
- Seeded Bread: Incorporate seeds such as sunflower, sesame, or flaxseed into the dough for a nutty texture.
- Sweet Bread: Add a tablespoon of honey or maple syrup for a hint of sweetness, or mix in dried fruits like raisins or cranberries.
Nutrition per Serving
- kcal: 150
- fat: 3g
- saturates: 0.5g
- carbs: 28g
- sugars: 1g
- fibre: 1g
- protein: 4g
- salt: 0.5g
Serving Suggestions
This homemade sandwich bread is incredibly versatile and can be served in numerous ways:
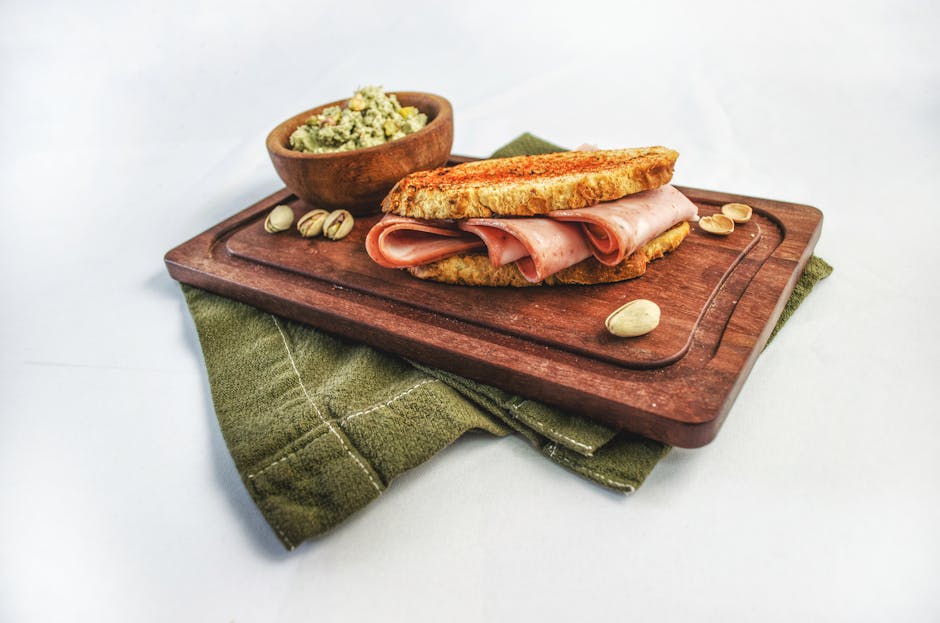
- Classic Sandwiches: Use it as a base for your favorite sandwiches, such as turkey and cheese, ham and mustard, or a classic BLT.
- Toast: Slice and toast the bread for breakfast, topped with butter, jam, or avocado.
- French Toast: Use thick slices of this bread to make delicious French toast, served with syrup and fresh fruit.
- Grilled Cheese: Make a comforting grilled cheese sandwich with your choice of cheese and a side of tomato soup.
Conclusion
Making your own sandwich bread at home is a fulfilling and enjoyable process that yields delicious results. With just a few simple ingredients and some time, you can create a soft, fluffy loaf that is perfect for sandwiches, toast, or any meal. This recipe not only allows for customization but also provides a healthier alternative to store-bought bread, free from preservatives and artificial ingredients. Whether you stick to the classic recipe or experiment with variations, homemade sandwich bread is sure to impress your family and friends. So roll up your sleeves, gather your ingredients, and enjoy the art of bread-making!
“`


